Although shooting interior photography might look effortless at first, it does take a lot of consideration and thoughts for the ideal photo. Like with any type of photography, interior design photographers must also follow the basics to make the most out of their skillset.
The following are some of the most popular interior design photography basics that you utilize to take your photography prowess to the next level.
The Basics Of Interior Design Photography
- Utilizing Natural Lighting
There’s no doubt that natural lighting is the ideal source of light for all your photography needs because colors tend to come out fresher and the shadows are showcased naturally inside the interior space. If you want to use natural lighting, then ensure that you shoot your interior design photographs on a cloudy day, so that the clouds can act as a softbox for evenly distributing the sunlight inside the room. Also, make sure that the incoming light from the doors & windows doesn’t create a distracting photograph.
Proceed to set up your camera on a tripod and then set the shutter speed to a very low value. Such a process will help in offering you a longer exposure, which will let all the natural light enter your camera’s sensor, decreasing the need for any artificial lighting.
- Always Follow A Specific Grid
If you want the most composed and balanced photographs, then you have to follow a particular grid for aligning the room interiors, so that you can obtain the best possible results. In case your camera has an in-built grid feature, then you can use it to align the walls of the room, along with the ceiling and the floors. Such a practice will ensure that everything has been positioned properly and there’s no variation in angles.
When you align your photos with a grid, it also helps you to quickly edit or crop your photos later on, without compromising the look or size of the image. Proceed to shoot your photos from a straight angle using the tripod, so that there are no risks of misalignment. Also, ensure that you level your camera at the height of your belly button or the light switches inside the room, which will provide you with fuller frame photographs.
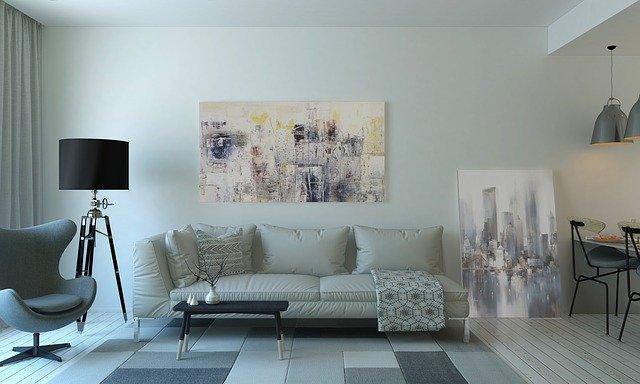
- Setting The Scene
In case you’re unaware then you must know that the overall composition of the space you’re photographing is as essential as the technical composition of the photograph. Ensure that you inspect the entire room and get rid of any small imperfections, such as straightening the rugs, fluffing up the pillows on the bed or couch, removing items such as tissue boxes or remote controllers from the photo frame, and so on. Even the smallest items can destroy the entire look of the photograph.
Also, don’t hesitate to rearrange books, furniture, plants or any other items inside the room. Make sure that all the items in your camera frame create a dynamic feel with your camera grid.
- Setting The Focus
The thing you want to focus on for your photograph is a crucial aspect of interior design photography. If you want to set the depth of field in your photograph, then you have to set the aperture in your camera settings. A small aperture size will increase the size of the hole, thereby letting more light inside your camera lens, so that one element can stand out with a blurred background behind it.
The higher is the number of your aperture, the smaller will be the aperture hole, thereby maximizing the overall depth of field. So, if you want your photographs to have a blurred background, increase the aperture size.
If you want to learn additional tips & tricks such as these, get in touch with us right away.