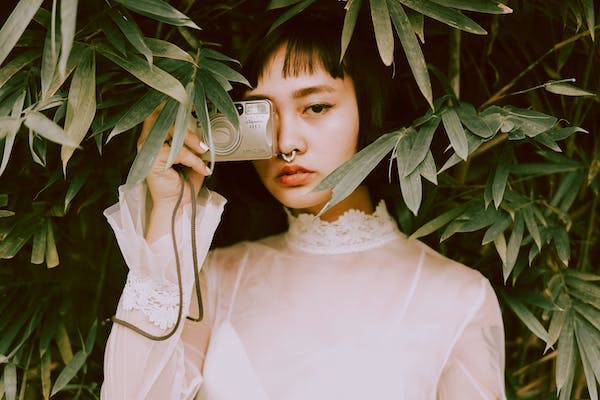
Photographing portraits in low light is difficult for both beginners and professionals. To capture the best portraits in low light, you need to have a good understanding of light quality. Also, it is important to know how to expose in camera to preserve as much detail as possible.
To help you create dramatic and atmospheric photos, we have compiled a list of 10 tips to shoot portraits in low light. These low-light portrait tips can be used on any subject.
1. How to shoot group portraits in low light
Positioning is crucial if you are shooting group portraits under low light conditions. You will need more light to spread your subjects, which may not be possible.
To maximize the light, group your subjects together. Try to keep it natural. Consider the spread of light and the best shapes for posing.
To gather sufficient light, use a larger aperture. To ensure that your histogram is not clipping, pay close attention. To ensure that you achieve a satisfactory level of sharpness, your F/stop should be equal to the number of members in your group.
If you have eight people, shoot F/8. 4 people, F/4, etc. This arrangement should keep everyone sharp, regardless of their posing arrangements.
2. Camera setting for low-light portraits
When shooting in darkness, it is best to use all manual controls (ideally a DSLR and Mirrorless).
This is because you might need to adjust the shutter speed, aperture, or ISO to achieve the desired exposure. Semi-auto or auto modes can overcompensate.
How you set up your camera settings will determine how well you can take portraits in low lighting. You will need the correct depth of field for your portraits.
Second, increase your shutter speed. Slower than 1/60th will result in the camera being placed on a tripod. Finally, increase the ISO. You’ll know your maximum ISO level if you’ve already done one before.
3. Flatter your Subject in Low Light
When shooting low-light portraits of women, always flatter your subject. You don’t have to be in the dark to beautify. Softer light is flattering because it moves more slowly across the skin than hard light.
To create a 3D outline, you can use a silver or white reflector to bounce light around your subject.
Ask your subject to move their shoulder towards the camera. This will reduce the body’s appearance and bring attention to the face. This is a quick and effective way to flatter anyone in low-light portraits.
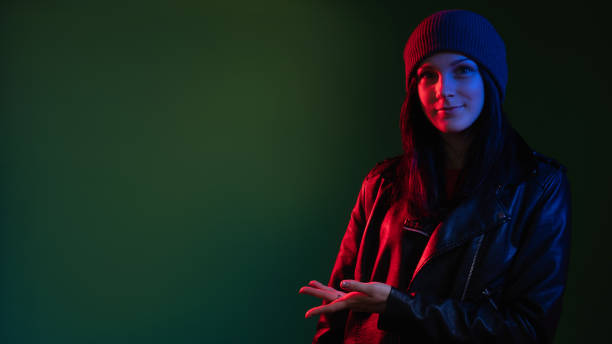
4. Dark photos that make you feel suspenseful
You can also use hard lighting if your photos want to appear mysterious and foreboding.
Low-light portraits of men by fashion photographers favor hard lighting sources (sun, off-camera flashes, etc.) that create divisions in the subject’s appearance. The strong contrast keeps the audience interested through the fast transitions from dark to light.
This lighting should be appropriate for the story you are telling. Split lighting, a type of portrait lighting that uses split lighting, is an effective way to create suspense in dark areas.
Place your subject so that they are facing the light source. Ask them to lower their chin, but keep their eyes focused on the camera. To increase the light quality, use a smaller aperture (F/8).
5. Low Light Drama:
Hard light looks great for creating drama in dark environments. Portraits can be taken outdoors in bad weather or after the sun sets. You can play with the position of your subject in any weather.
To create a silhouette, place them between the camera and the light source. To make their faces appear darker but to illuminate their bodies, you can place them under a streetlight. This will make them appear mysterious and dramatic.
Low-light dramatic portraits don’t require a lot of technical know-how. All you need is a keen observation of the light and how it would translate into a portrait. Try it out if you are ever unsure.
6. How to Avoid Being Underexposed
Your histogram is an important part of ensuring that your shot looks as perfect as possible in-camera.
Histograms will tell you how many black pixels are present in your frame. It is even better if you can see this information in live simulations – not all cameras have this feature. When setting low-light settings, avoid a large peak to the left of the histogram.
The left side of the graph should have the most exposure. However, the edge should not be the only place. You have a lot of options when editing.
7. How to edit low-light portraits
Don’t lift the blacks when editing low-light portraits. Instead, raise the shadows as they will contain more detail than the black pixels.
You can use Noise Reduction Tools, such as Lightroom, to bring it back.
We have a tip for editing low-light portraits in Adobe (or other software). It helps to lighten the exposure by reducing the contrast. This will help you avoid low-light portraits.
Try out different settings and editing methods in low-light portrait photography. Enjoy the process and see your skills improve!
8. Include a backlight
If you need to clearly distinguish your subject from the background, it’s a good idea to use a hair light with low-key portraits. The backlight (or hair) is placed at 45 degrees to the rear and shines down on the subject.
It could be natural sunlight shining through a glass or an LED panel. This will create a distinct separation between the background and their bodies by creating a glowing outline.
This is helpful if you have a background and subject that are both dark. It stops them from blending in low light.
9. Golden Hour and Twilight Portraits
When is the best time to go out in low light? It’s entirely up to you how challenging you like your low-light shots!
When taken just after sunset, low-light portraits with ambient lighting are stunning. The sky will turn a cerulean hue a little while later. Low-light portraits will look cool and steely due to this blue hour tone. This can make a room feel very atmospheric by itself.
For couples, it can be romantic to shoot on the beach with the moonlight as the illumination.
If you wish to warm up the shot, adjust the white balance of your camera. However, shooting at twilight or blue hour can be quite flattering.
10. Avoid taking action shots in the dark
First, portraits taken in low light should be shot only if the subject is stationary. It is not a good idea to ask your subject to move in low light.
A fast shutter rate is required for freezing motion. This could mean that you will need to increase your ISO to a level above noise-free levels and open your aperture as wide as possible. It will only make your image less quality, so it is not worth trying to capture frozen motion.
Reserve action shots for brighter situations. To capture light trails of moving vehicles, for example, try a slower shutter speed if you are not interested in portraits. You can still capture low light without increasing the ISO.
To find the right aperture for low-light portraits, you will need to play around with different lighting conditions.
Low-Light Portraits with Flash
You don’t have to worry about the color temperature if you are shooting low-light indoor Flash portraits. Just leave the white balance on auto.
Low-light flash photography can create heavy shadows. You can bounce your light if you don’t wish to do that.
To reflect the light off of a ceiling, use a bounce card or diffuser cap if it is a flashy pop-up flash. This will diffuse the light and soften it. This is also true for an off-camera flash device.
For low-light portraits without flash, remember to adjust the color temperature of your light source.
Old streetlights emit at lower Kelvin temperatures, so you will need to use an incandescent white balanced.